Quake demos raytraced again
This is a follow-up to a previous post about raytracing Quake demos.
But first, the money shot:
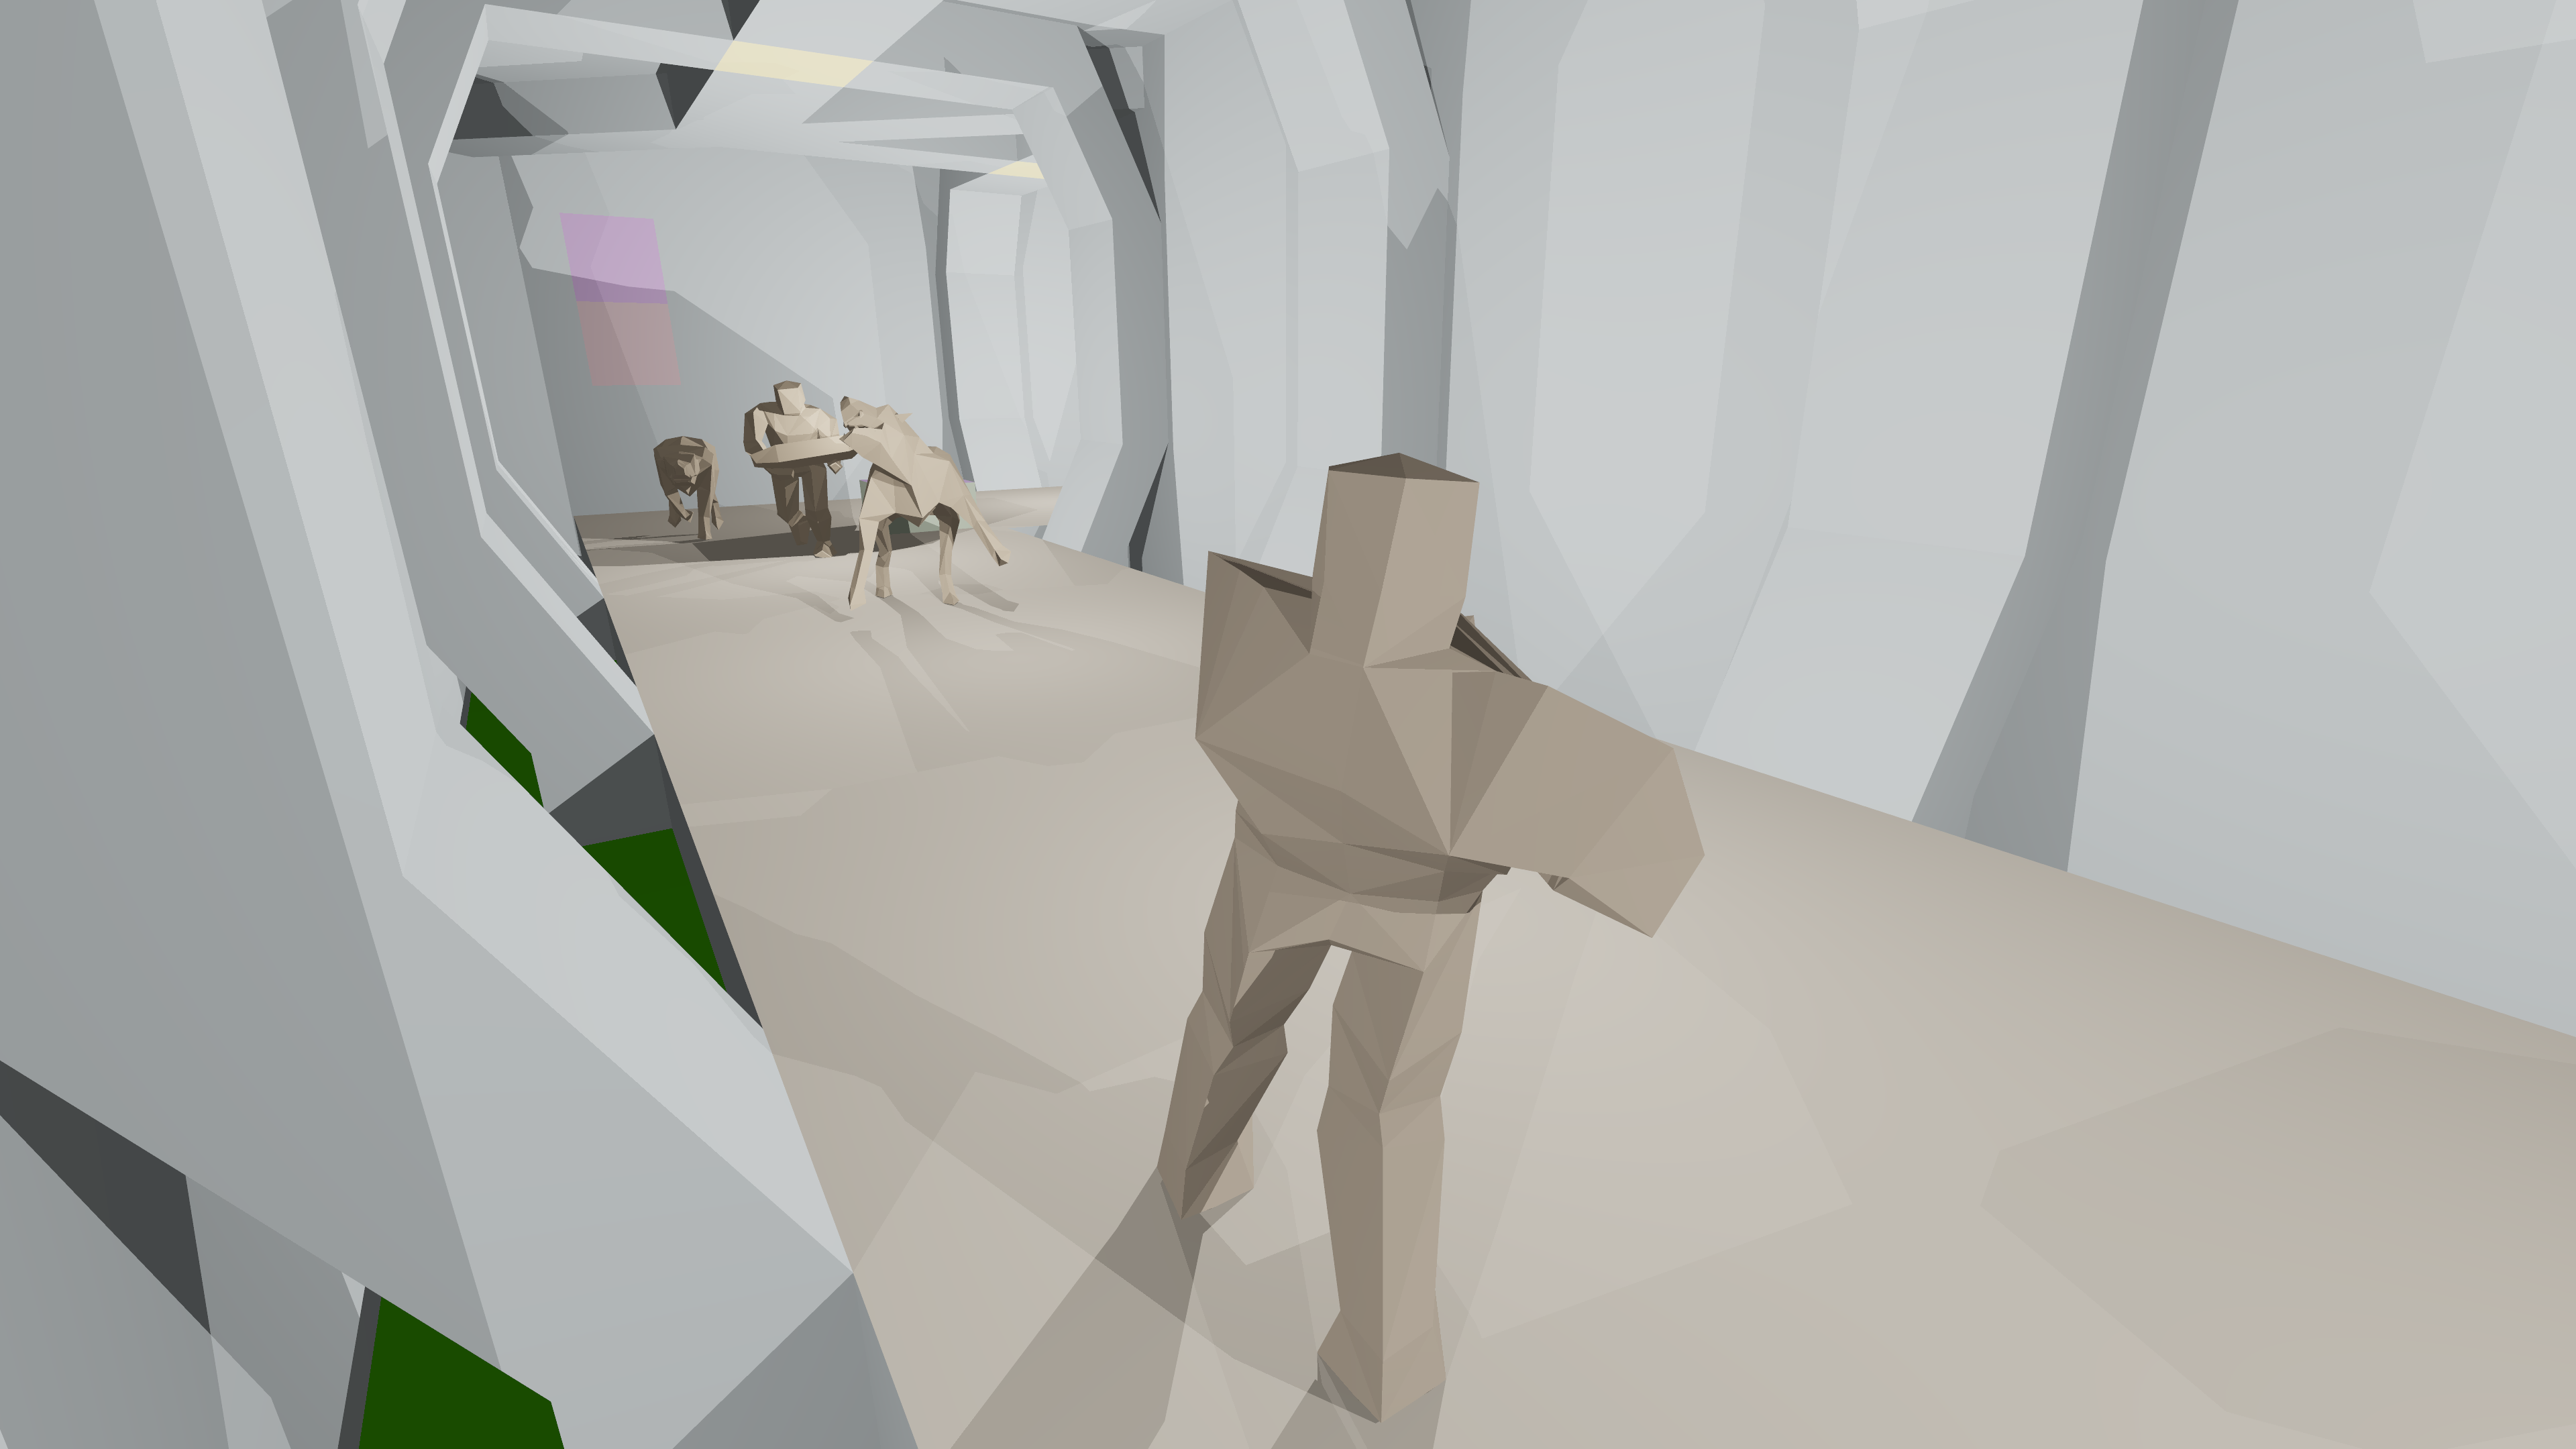

And flat shaded and textured videos. Youtube is Very Aggressive™ with its compression, so the quality there is not good. For pixel quality the above images showcase it better.
A new raytracer
One of my original reasons for creating the quake demo povray files is that it was a good source of data for 3D experiments. POV-Ray is a great raytracer, though entirely CPU (no GPU) and no longer state of the art.
POV-Ray has plenty of built in options, but takes forever to render the 30-60fps demos I want to play with.
Also POV-Ray is AGPL now, so nope nope nope nope nope. That’s a dead end.
Another AI detour
We live in interesting times. We could be living in a time when no two people are running the same email client, or music player, or shell. There used to be a barrier to writing these things custom. I know people who wrote their own shell and use it as a daily driver. I wrote my own email client, and use that.
There are many people out there, me included, who are perfectly able to write their own shell, but don’t. For the shell, my need is not above my threshold of putting in the effort. But now? I could, if I ran into more annoyances with Bash.
But do you not like Bash? Just ask the AI to write one exactly the way you want it. If it breaks, well you’re the only user and your fingers are trusted input. “It should be fine” (famous last words)
If the static site generator I use for this blog (Jekyll) gives me any trouble, like some Ruby dependency troubleshooting, I’ll replace it with a custom one in a heartbeat.
So let’s write a new raytracer
I don’t have to “find” the best renderer, anymore. I can just have AI write a custom one. Oh, but do I have to modify QPov (the demo-to-pov converter) to write a new file format? I could ask AI to add other output format. Or I could have AI write a converter.
Nah, I’ll just have AI load the existing POV-Ray files full of includes and macros. Remember, I’m not writing “the perfect general purpose raytracer”. This is not reusable code. I’m just turning my data into raytraced files.
The process
I got my initial result in under half an hour. I didn’t save the exact prompts, but they were as short and vague as this:
- Write a raytracer in rust for the files in this directory.
- The output is a garbage image. Fix it.
- Make it parallel using the
rayoncrate. - Add optional textures as specified in the input files.
- I think you got the texture coordinates upside down.
- Frame 302 has rendering errors. Fix the renderer.
- Add adaptive antialiasing.
- It’s a bit slow. Optimize it.
- Switch to outputting PNG files using the
pngcrate. Maximum lossless compression. - Add some rendering metadata to the output PNG.
Some notable impressive feats:
- It fixed the initial garbage by “realizing” that it could render with POV-Ray, and compare the output. After the initial working version it no longer needed to do that, and didn’t.
- When the output was no longer garbage it said that it could “see” a hallway now, which made it realize it was done.
- For the frame 302 rendering bug, it rendered 301 and 303 to compare, and could see a wall disappearing from the rendered output.
- When working on the problem, it would render an image, and then do image recognition. Yeah, that’s what I’d do too.
The result
It’s not povray, but it’s fast. The example 4K frame with antiaalias from earlier took 30 seconds on my laptop (5m39s CPU time). POV-Ray (though admittedly with much more advanced effects) would probably take days.
I can now iterate on other things, such as a better way to render the sky and water/lava/slime, and add special effects.
I can… but it depends on when I have an itch to continue on this project.